
Start smartnotebook from within the hsqc-connect directory by typing the name of the startup script.
	> cd hsqc-connect
	> snbview
Next type "smartnotebook" in the nmrview console window (or "snb" for short).
> snbFor the initialization procedure, use all the defaults except for the last screen where we tell snb to NOT generate the connectivity files:
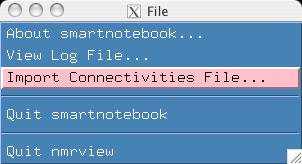
When the snb main screen and spectra are displayed, goto the File menu and select the "Import Connectivities File" item.
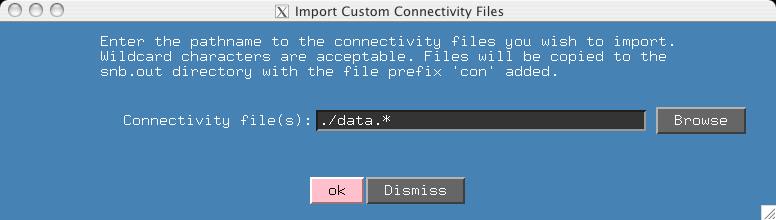
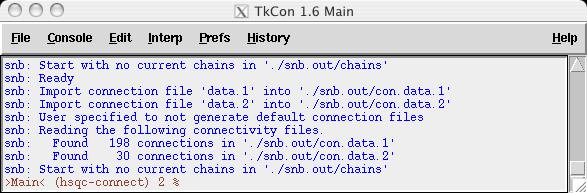
In the hsqc-connect directory I have included two connectivity files which I pretended to have generated from other software. The filenames share a common prefix (data.*) which allows easy input of multiple files in the window that is presented. When you hit the "OK" button, the nmrview console indicates the files and number of connectivities read.
At this time, you can click the search button in the main smartnotebook window and then the search button in the 'Search Connectivities' window. This would be a convenient way to view all the connectivities read in.

Notice that the connectivites from data.1 have an 'rb1' tag and those in data.2 have an 'rb2' tag. These were arbitrarily chosen, it may be important in a multiple connectivity file scenario that the user know the nature of the connectivity type.
This file last updated: Questions to: bionmrwebmaster@biochem.ualberta.ca